“The thing that we are trying to do at Facebook is helping people connect and communicate more efficiently.”
Mark Zuckerberg
Coming from the founder himself, the statement doesn’t need any justification. Apart from personal purposes, businesses are leveraging the social media giant extensively.
More than 83% of marketers are leveraging Facebook globally to promote their services and products in the 1st quarter of 2025. With billions of active users on Facebook, the platform is a goldmine for businesses looking to connect with their audience, build trust, and drive sales.
To establish your brand’s presence on Facebook, you have to have a Facebook page for your business. A page that comes equipped with professional tools and capabilities to help you boost your brand’s visibility.
Let’s walk through the process of creating and optimizing your Facebook page to build your business a strong social presence.
Key Takeaways:
- You have to have a personal Facebook profile to create a Facebook business page.
- It is essential for you to fill out the basic information and your business’s contact details on the page to make it discoverable by potential clients.
- A well-chosen CTA button guides visitors toward meaningful actions like booking, messaging, or purchasing.
- Facebook Page access allows you to delegate tasks while maintaining control over critical permissions securely.
- Verifying your Facebook Business Page increases credibility and protects your brand from impersonation.
- Posting content that aligns with your brand and audience interests drives consistent engagement.
- Maintaining a Facebook Page demands consistent posting, active engagement, and timely review management.
- Tracking analytics helps refine your content and marketing strategy based on real performance data.
- Paid Facebook ads can amplify reach and accelerate business growth when aligned with clear objectives.
How to Create a Facebook Business Page?
Setting up your business page on Facebook is simple, requiring only a personal Facebook profile and your business information.
There are many steps you need to follow, and missing any one could hamper the result. Let’s start!
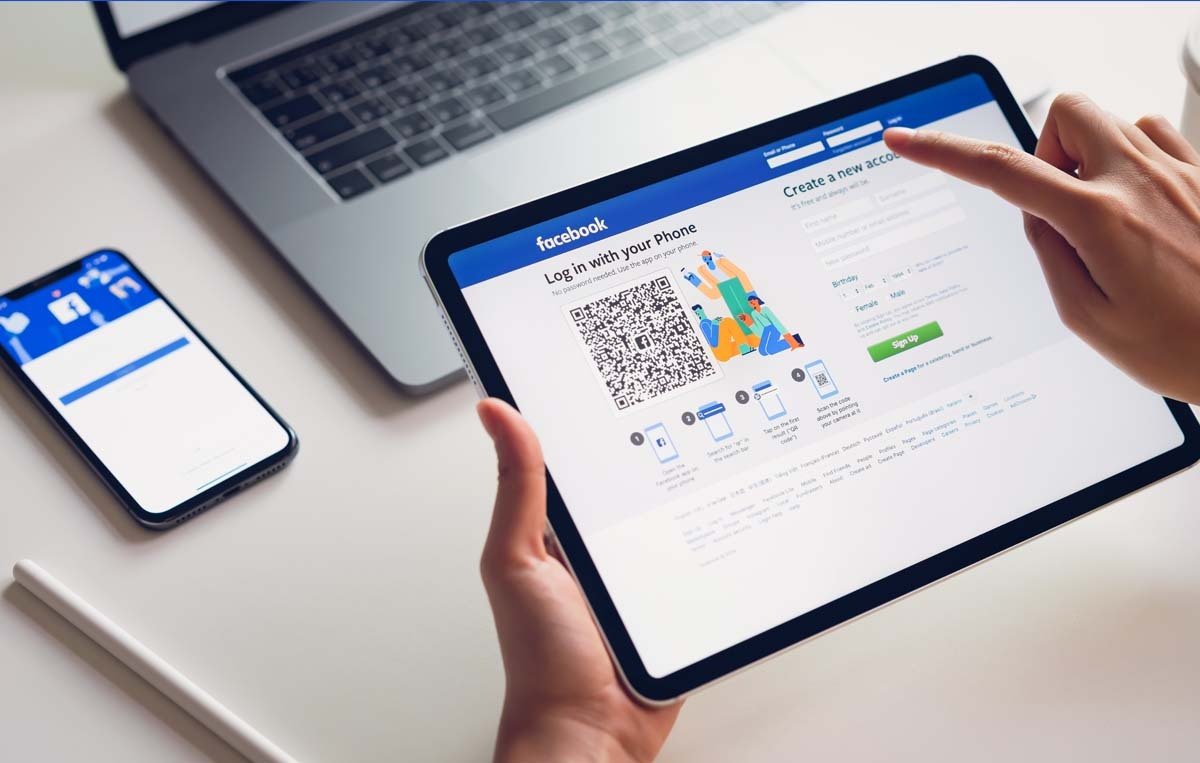
Step 1: Log in to Your Account or Create a New Account
To build a Facebook business page for your business, you must own an account on Facebook, for which you need to have a functioning phone number or an active email address.
If you already have an active Facebook account, it’s fantastic, but if not, don’t be disheartened, as creating one is simple! Head to facebook.com and fill in every field in the Create a New Account section.

Once you provide the email/contact number and set up the password, your Facebook account will be created.

As you can observe, many fields must be completed here, like your basic info, profile, and cover pictures. Once that is done, you can set up your business page. Just keep following the next step.
Step 2: Initiate Page Creation
Click on the “Pages” option displayed in the left-hand menu.

Now, you will be directed to the “Pages Section,” where you will see the “Create new page” option in the top left corner. Click on it and then select the “Public Page” option.

Step 3: Pick a Name, Category, and Bio For your Facebook Business Page
By clicking the Get Started button, you will be redirected to the page where you have to finalize your page’s name, category, and bio.
- Page Name: Use your business’s official name for easy recognition.
- Category: Select three categories that accurately represent your business to help people understand what you offer.
- Bio: Provide a concise description (up to 255 characters) about your business to inform visitors.

If you are creating a page for beauty salon services, mention your business’s name. After choosing the name, you will have to feed the category that’s best suited to your brand; here, the broad niche will be “beauty,” and when you type that keyword, Facebook will provide you with a couple of suggestions from which an appropriate one can be chosen.
After adding the details and clicking the Create Page button, you will be asked to finish setting up your business page.
Step 4: Add Business Contact Details
After creating your Facebook business page, you must finish setting it up with your authentic contact details. You need to add:
- Website: Include your business’s website URL to direct traffic.
- Phone Number: Provide a contact number for customer inquiries.
- Email: List a professional email address for communication.
- Location: If applicable, add your business address to appear in local searches.
- Hours: Specify your operating hours to inform customers when you’re available.

Step 5: Upload Images
Uploading a relevant profile picture will help you make your page look even more pleasing. The option is skippable again, but adding an eye-catching cover picture for your page is better.
- Profile Picture: Use a high-quality image of your logo (170×170 pixels) to establish brand identity.
- Cover Photo: Add an engaging cover photo (820×312 pixels) that reflects your brand’s personality.

Also, having a relevant CTA button can help you get more leads, DMs, and sales. Facebook provides you with some button options:
- Book Services works well when you want the visitor to book an appointment or a meeting
- Get in Touch in case of customer support or inquiries
- Learn More when you have provided the visitor with some information – enough to interest them – and then you are directing them to your website to learn more
- Make a Purchase is the response you want from the visitor if you’re selling a product, and Make a Donation works for charities, non-profit organizations, etc.
- Choose Download App or Game if you are encouraging visitors to download the app/game you’re offering.
- The Shop Now button on the Page ensures visitors can click and be directed to the products on the online store.
Once you’ve selected a button, add a link to your business’s site, product page, blog, etc., to direct the visitors. And that’s it – visitors will be able to see and use the button.
Step 7: Connect WhatsApp Account (Optional)
You can connect your WhatsApp account to the Facebook business page after adding your contact details, visual imagery, and CTA button.
Remember, this WhatsApp account should be your business account. When you connect WhatsApp with the page, you also add a unique WhatsApp Button to your page.

Step 8: It’s Time to Build an Audience
Once you reach this point, your page is ready for followers and likes. To gain an audience, you can do the following:
- Invite Friends: To build an initial following, encourage friends and existing customers to like your page.
- Share: Promote your new page on your profile and other platforms to increase visibility.

Once your page is fully operational, there are insider tricks to boost your follower growth. You can refer to our list of proven strategies to increase your Facebook followers.
Step 9: Set Notification Preferences
You have reached the final stage of creating your Facebook business page. Here, you must ensure you stay updated with everything on your page. To do so, you have to turn on notifications on your profile.

After this, click on Done.
By following these steps, you have established a Facebook Business Page that is a powerful tool for connecting with consumers and growing your brand’s online presence.
How to Add Services on Facebook Page: Step-By-Step
Meta has completely changed how you can add, optimize, and show your services so that people can book them. You can now add very limited customizations to your Services on a Facebook Business Page. Here’s how:
Step 1: Log in to your Facebook profile and select the page you want to add Service information to.
Step 2: Click on the profile image at the top right corner to open the page dashboard.
Step 3: Now, go to the About tab below the wall image, scroll down to and click on “Add specialisms and services.”

Step 4: Select the category of your business or service by clicking on one or multiple options.

Step 5: Once you’re done selecting the relevant options, click on Save.
If you want to provide more specifics about your business, fill out all the information in the Contact and basic Info sections.
How to Give, Edit, or Remove Facebook Page Access
If you want to use your Facebook page to grow your business, you’ll need other people on your team to help you run it. There are multiple aspects of a Facebook page, including admin duties, fencing messages and reviews, publishing content, community management, and more.
Facebook allows you to either add people with full access (Admin access) to the page or invite people by giving them access to certain tasks (Task access).
What Can You Manage With Facebook Page Access?
A person with admin access has control over the following:
- Page deletion: Can delete the entire page permanently.
- Permissions: Can invite new people with admin access or task access.
- Content: Create, manage, or delete posts, stories, and more for the Page.
- Messages and calls: Respond to direct messages and make calls as the Page.
- Community activity: Review and respond to comments, remove unwanted comments, and report activity.
- Ads management: Create, manage, and delete ads for the Page.
- Insights: See how the Page, content, and ads perform.
- Leads: Access and manage leads, including downloading leads, creating lead ads, and more.
People with task access can have access to any of the above aspects except page deletion and permission.
How to Give Access to a Facebook Page:
Now, let’s go through the steps of granting access to the Facebook page:
Step 1: Log in to your Facebook profile and select the page you want to make changes to.
Step 2: Click on the profile image at the top right corner for accessing the page dashboard.
Step 3: Below the wall photo on the page, you will find the Professional dashboard button. Click on that button to access advanced functionalities.
Step 4: Once you’ve switched to the Professional Dashboard, find the Page Status section on the right side of the dashboard and click on Page access under it.

Step 5: You will be redirected to the Manage and View Access page. Here, you can select whether you want to provide Facebook access or task access.

For Facebook Page Access:
Step 6: Under People with Facebook access, click Add new, then click on Next as prompted on the next screen.
Step 7: Enter the person’s name or email and select their account when it appears. Now set their access level by flipping the toggle switch to full control for full admin rights or choose specific task permissions.

Step 8: Facebook will ask you to re-enter your password to confirm your choice. Once you do so, the person will have selected or complete access to your Facebook.
For Task Access:
Step 6: Under People with task access, click Add new, then click on Next as prompted on the next screen.
Step 7: Enter the person’s name or email and select their account when it appears. Now you have to flip the toggles for the tasks you want them to have access to.

Step 8: Re-enter your Facebook password to confirm your choice and click on Confirm. You will then be taken back to the Manage and view access screen, which will show that your invite has been sent, which will remain valid for 31 days. Once the invitee accepts the invitation, they will be visible to you on this page.
How to Edit or Remove Access from a Page:
If you are the admin of a Facebook Page, you can invite people and edit or remove their access in a few steps. Here’s how to do it:
Step 1: Log into your Facebook page, switch to the Professional Dashboard, and open Page access.
Step 2: Navigate to the person whose access you want to revoke or edit, then click the three dots beside their name. Here you will get the options to remove or edit their access.

This gives you complete control over which of your team members can perform which tasks on your Facebook business page while protecting it.
How to Verify Your Facebook Business Page
After you have set up your Facebook business page and allocated access to your team members, up next, you have to optimize it further. For this, the most important step is to verify your business page on Facebook.
Being verified and in possession of the verification badge means the profile is genuine. It signifies that the page belongs to a particular creator, public figure, or business, rather than an impersonator or a fan.
This adds credibility to your brand’s image, earning social proof and effective engagement in the process.
There are two ways you can be verified on Facebook:
- Verified badge: These are awarded to the accounts of known public figures, celebrities, and brands based on information Meta holds. People can request this type of verification as well as receive it from Meta automatically. Meta has clearly listed out the eligibility criteria for a verification badge.
- Meta Verified: You can get a verified badge, along with enhanced support, impersonation protection, and more, by purchasing a paid subscription for your Facebook business page. You can apply for a turn, and if you meet the Subscriber eligibility criteria, Meta will contact you to get verified by paying.
How to Get Verified with a Paid Subscription?
Now, let’s look at the process to get Your Business page verified on Facebook:
Step 1: Log in to your profile and navigate to the Facebook page you want to get verified. Now, open the profile page by clicking on the page name on the left menu.

Step 2: Find the Meta Verified option on the left panel of the profile page and click on it to start the process of verification.

Step 3: You will see a blue button saying Join the waitlist. Clicking on it will add you to Meta’s list of consideration.

Step 4: There might be a slight wait involved, but once they have analyzed your profile and determined that you are eligible, they will reach out to you with the paid subscription offer. You can pay for the subscription, which starts at $14.99 per profile per month, along with the verified badge.
Note that you can cancel your subscription at any time by halting payments, but you will lose the verified badge.
How to Get Verified Without Paying?
If you are a well-known personality or brand, you can request a verification. If Meta deems you eligible for all the criteria, then you can get the verification badge for free.
If you click on Facebook’s verification request form, you will be lead to the following form:

You need to fill out this form and provide all the documents and proof of your prominent presence in the public eye. It might take up to 30 days, but if accepted, you will be awarded the coveted blue tick without spending any money, along with added benefits.
How to Delete a Facebook Business Page
If you want to delete or deactivate your Facebook page at any time, you can do so easily if you have full access.
Here is how easily you can delete your Facebook business page or disable it for a short period:
Step 1: Log in to your Facebook page and switch to the professional dashboard. Once there, select Page Access from the Page status section.
Step 2: Now scroll down the menu on the left side of the page, find Access and control, and click on it.

Step 3: Select the option based on whether you want to delete the page permanently, disable it, or hide it from the public. Once you’ve selected the option you want, continue and confirm your choice.

Note that if you select the last option, i.e., Delete Page, you will not be able to restore it’s presence from any of the Meta platforms.
How to Improve Your Facebook Business Page
There are various elements that contribute to creating a successful business page on Facebook. Here we have listed out the best practices that really work well to optimize your page and, in turn, your overall presence on Facebook.
1. Complete Your “About” Section
It’s exceedingly important to fill your about section carefully on your page. The information mentioned about you gives the very first impression to users (in barely 3 seconds or so) when they land on your Facebook page.
Therefore, it’s necessary to make all of your details look useful and real to the users by having a well-crafted “About” section.
2. Customize Your Cover Photo
Refrain from uploading any cover image that is misleading, offensive, deceptive, or infringes on somebody’s copyright. Ensure that your cover image sizes are right and of high quality, always.
Only use cover images that relate well to your brand, services, or products. Keep changing it on festivals and special days that make sense for your brand.
3. Focus on Brand
Your content should consistently reinforce your brand identity. Share engaging posts, run contests, or highlight trends. Just make sure every piece of content connects back to who you are and what you offer.
When your messaging is cohesive and intentional, it strengthens brand recall and helps your audience immediately recognize your voice, values, and purpose.
4. Post Relevant Content
Share content that directly reflects what your audience wants to see. Focus on posts that highlight your products, answer common questions, address real pain points, or showcase insights related to your industry.
The more relevant and timely your content is, the more likely it is to drive engagement and build trust with your audience.
5. Create an Impressive Landing Page
An impressive landing page is the foundation of successful online marketing. Since people are going to end up on your website from your Facebook page, you need to pay attention to it.
Design your page to be clean, organized, and mobile-friendly, keeping the messaging precise with clear headlines and sub-headings. Add strong trust signals to build credibility, consistently tracking performance to understand what’s working.
How to Maintain a Facebook Business Page?
Even after creating a Facebook business page, many struggle to generate outcomes. It is because they are not maintaining the page appropriately.
Maintaining a vibrant and compelling page requires strategic planning and consistent efforts. Here are key aspects on which your page thrives:
Post at Strategic Hours
Our research indicates that posting during specific times can enhance engagement. We have analyzed more than 7,000 posts and 5,000 accounts to identify the best time to post on Facebook.
They have also analyzed that for the best results on Facebook, you should post 2 to 4 times a day.

Maintain a Consistent Posting Schedule
Consistency is crucial for a healthy Facebook business page. A content calendar will help maintain an effective and consistent posting schedule. It supports planning and organizing posts, ensuring a consistent and strategic approach.
SocialPilot Content Calendar offers everything you need to ensure a compelling, engaging, and consistent schedule on multiple platforms; visualize your content strategy without getting overwhelmed.
Engage Actively with Your Audience
Actively engaging with your audience on Facebook fosters community and trust. Engagement is a vital aspect of maintaining the health of your Facebook business page so it can generate outcomes and benefit your business.
Replying to messages, comments, and reviews on Facebook business pages can be tedious, especially when you are managing more than one.
That’s where SocialPilot’s Social Inbox makes a real difference.
It brings together all your Facebook interactions, like comments, messages, and reviews, into a clean, organized dashboard. You can:
- Respond faster with real-time syncing
- Stay on top of conversations with full thread context
- Prioritize & Tag messages for efficiency
- Filter & Search chats instantly
- Use AI to draft thoughtful replies
Whether you’re handling support, reviews, or general engagement, social inbox helps you stay in control without missing any messages.

Start Your 14-day Trial
Track Analytics and Adjust Strategy
Data-driven decision-making leads to better outcomes, ROI, and sales. If you want your business page to yield results and profit, regularly monitor the content and page performance and adjust the strategy accordingly.
One of the best ways to monitor and adjust your content strategy is to use a Facebook analytics tool. This tool provides detailed reports on your Facebook performance and helps you make informed decisions to enhance your strategy.
Monitor and Moderate Reviews
Reviews influence public perception, trust, and credibility. Facebook is a vital source of sales, so maintaining a good Facebook review rating is vital for your business.
Regularly check for new reviews and feedback, and address and respond accordingly to demonstrate commitment to customer satisfaction.
Utilize Ads to Amplify Your Reach
Paid promotions are a great way to reach your target audience and boost visibility, clicks, and sales.
To ensure you run a successful Facebook ad that reaches the people you want, keep these factors in mind:
- Define Objectives: Clearly outline what you aim to achieve—brand awareness, website traffic, or conversions.
- Targeting: Use Facebook’s ad targeting features to reach your desired demographic based on location, interests, and behaviors.
- Budgeting: Allocate your budget wisely, starting with a modest amount and adjusting based on ad performance.
- Ad Content: Create compelling visuals and messages that resonate with your target audience.
Build a Facebook Presence to Drive Results
Creating a Facebook Business Page is no longer just about having an online presence. It’s about building a dependable growth channel for your brand.
When created and managed with intention, your Facebook Page becomes an asset that supports discovery, engagement, and conversions at every stage of the customer journey.
The real impact comes from consistency, with relevant content, responding to your audience, tracking what works, and refining your strategy over time.
With the right processes, tools, and performance insights in place, your Facebook Page can evolve into a scalable marketing engine.